How to install a pre-hung interior door: a contractor's checklist
Step-by-step installation of a pre-hung solid core interior door: rough opening check, plumb the hinge side, shim, fasten, adjust the strike and finish.

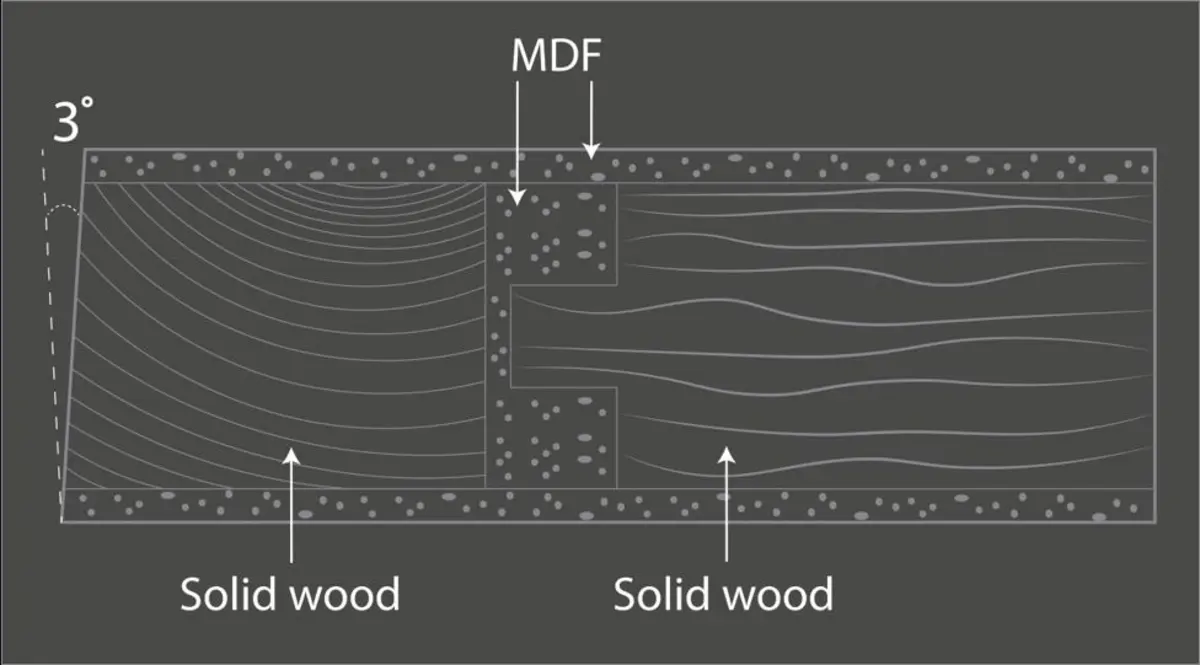
A pre-hung unit is the fastest way to install a solid core interior door: the slab is already hinged in its jamb, so the job is really about setting the frame plumb and square. Here is the sequence we recommend for our pre-hung doors with double rabbetted jambs.
Tools and materials
- 4′ level, tape measure, framing square
- Composite or cedar shims, utility knife
- Finish nailer with 2½″ nails or 3″ screws for the hinge side
- Drill, 1⅛″ hole saw if the slab is not pre-bored
- Low-expansion foam or fiberglass insulation (optional, for sound)
Step 1 — check the rough opening
The opening should be about 2″ wider and 2″ to 2½″ taller than the nominal door size (see the door size guide). Check that the floor is level across the opening; if it is not, you will trim the jamb leg on the high side so the head stays level.
Step 2 — set the unit and plumb the hinge side
Keep the slab closed and the shipping brackets on. Center the unit in the opening with the jamb edges flush to the drywall on both sides. Place shims behind each hinge location on the hinge jamb (top, middle, bottom), check with the level, and tack the hinge jamb through the shims. Solid core doors are heavy, so the hinge side must be dead plumb or the door will swing on its own.
Step 3 — fasten through the hinges
Replace one short screw in each hinge with a 3″ screw driven into the stud. This carries the weight of a solid core slab and prevents sagging over time. If you are using our concealed 3D-adjustable hinges, install the jamb-side bodies first and use the adjustment screws for final alignment.
Step 4 — square the strike side
Remove the shipping brackets and open the door. Shim the strike jamb at the strike plate height and at the top and bottom until the reveal between the slab and jamb is an even ⅛″ all around. Close the door and check that it touches the stop evenly from top to bottom; adjust shims until it does, then nail through the shims.
Step 5 — head jamb, insulation and trim
Shim the head jamb in two places so it does not bow. Fill the gaps with low-expansion foam or loose insulation; do not overfill, or the jamb will bow inward. Score and snap the shims flush. Install casing from our primed finger-jointed pine boards or your own trim profile.
Step 6 — hardware and final adjustment
Install the lever or knob and strike plate. The latch should engage without the door rattling; move the strike plate ⅛″ if needed. On a correctly installed unit the door stays wherever you leave it, opens and closes with light pressure, and the reveal is even.
Common mistakes
- Nailing the jamb without shims behind the nail — the jamb bows and the door binds.
- Skipping the long screw in the top hinge — the door sags within a year.
- Painting after installation without removing the door — brush marks on hinges and drips on the jamb. See how to paint primed doors.
Need units in volume? Browse the two panel Shaker and one panel Shaker price lists, or request a quote for your project.